What is an NBI Clearance?
An NBI Clearance is an official document issued by the National Bureau of Investigation in the Philippines. It certifies that the holder has no criminal cases filed against them. This document is crucial for various purposes, such as:
- Job applications
- Business registrations
- Working or studying abroad
The clearance includes your name, address, birthdate, and the issuance date. Keep in mind that it’s valid for only 6 months to 1 year, so regular renewal may be required.
Why Use the Online Application System?
In the past, getting an NBI clearance required long lines and hours of waiting. Fortunately, the NBI has introduced an online application and appointment booking system. This innovation saves time and simplifies the process.
How to Apply for an NBI Clearance Online
Step 1: Register on the Official NBI Clearance Website
Go to the official website to register as a new account.
Visit the official NBI Clearance Online Portal and create a new account. If you already have an account, log in to continue.
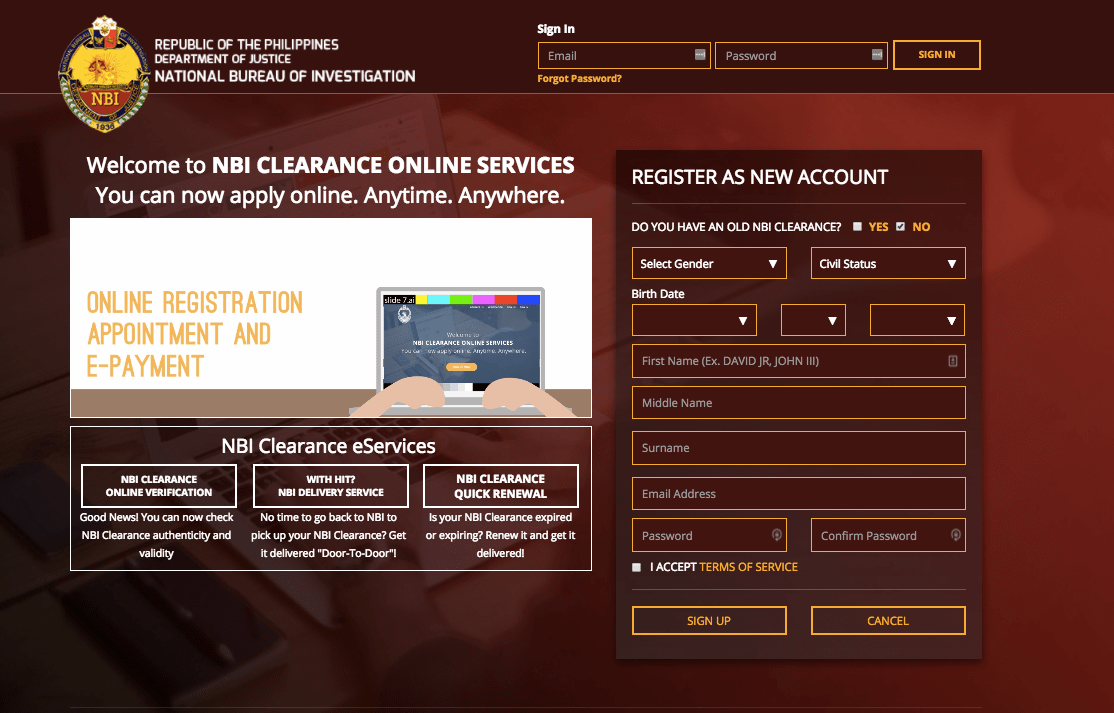
Step 2: Complete the Registration Form
Fill out the required information, including your name, address, and contact details. Double-check all entries to avoid errors.
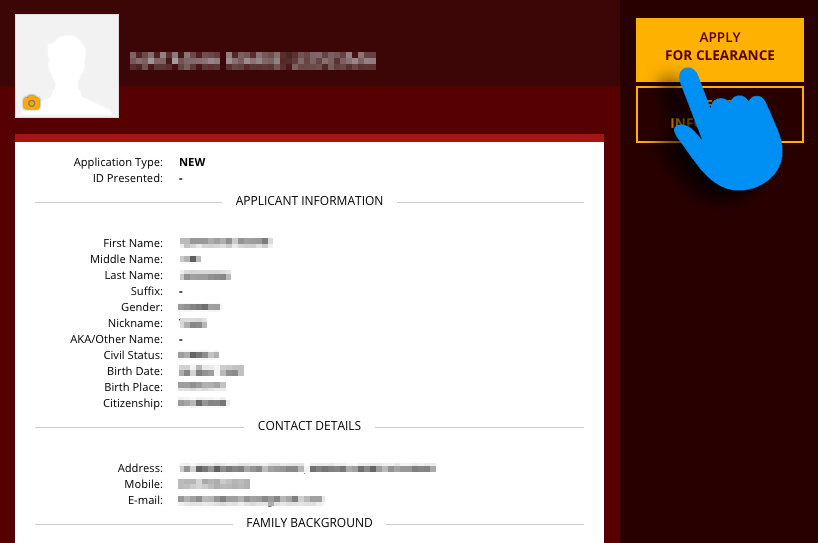
Step 3: Input Valid ID Details
Select a valid ID from the list below and provide its ID number:
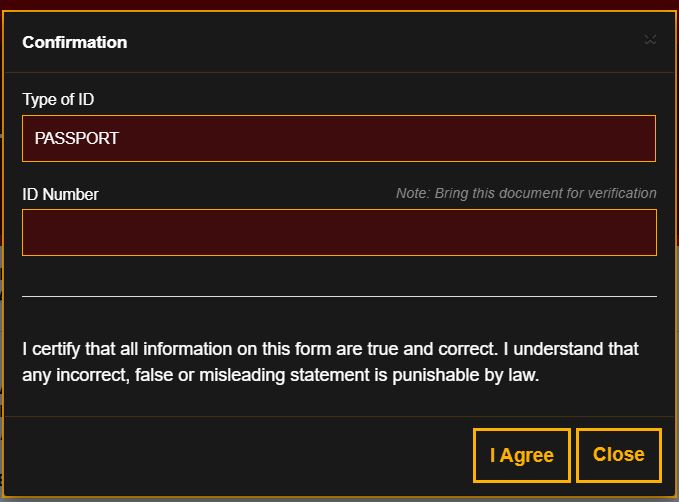
You can choose among the following valid IDs:
- Voter’s ID
- SSS ID
- PRC License
- Passport
- Postal ID
- Driver’s License
- GSIS UMID
- School ID
- Alien Certificate of Registration
- Philhealth
- Tax Identification Number (TIN) ID
- NSO Authenticated Birth Certificate
- Senior Citizen Card
- Copy of Previous NBI Clearance
Pro Tip: If this is your first government ID, you can use your birth certificate as proof of identity.
Step 4: Choose Your Appointment Location and Date
Select your preferred NBI branch and schedule. Choose the earliest available date to speed up your process.
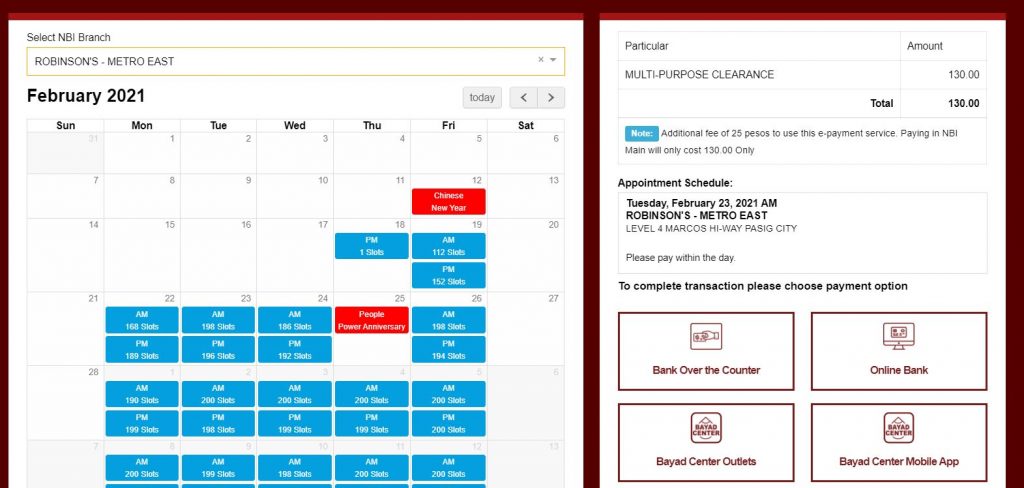
Tip: Select Bayad Center Outlets as your mode of payment to pay your NBI clearance using your Coins Wallet. Create a Coins.ph account here or download the app for free on Google Play and the App Store.
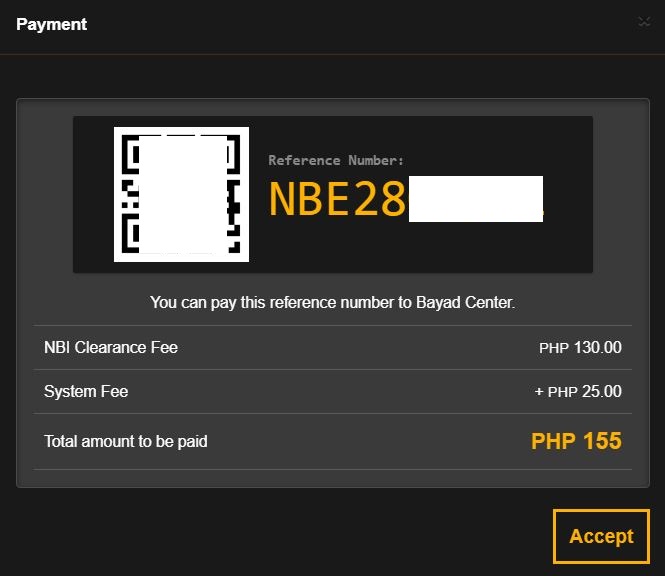
Step 5: Take note of your reference number.
A reference number will pop up. Take note of this number along with how much you have to pay. You will need this when you use your Coins Wallet to pay for your NBI Clearance application.
How to Pay for NBI Clearance Online with Coins.ph
Good news for Coins.ph customers. Pay bills online with your Coins Wallet - including your NBI clearance! Here's how:
Step 1:
Open your Coins.ph Wallet app and tap on Pay Bills.
Don’t have a Coins account yet? Download the app for free on Google Play or the App Store. You can also sign up for an account on https://coins.ph
Step 2:
Scroll down and choose NBI Clearance.
Step 3:
Enter your exact payment amount then tap Next.
Don’t have enough funds in your Coins Wallet to pay your bill? Cash in or add funds instantly through online banking or e-wallet apps (Read: Coins.ph Online Cash In Options). Other options include 7-Eleven, Palawan Pawnshop, Western Union, and more. See all cash in options
Step 4:
Enter the Reference Number from your NBI application and input your Mobile Number. Tap Next.
Step 5:
Review your payment information and then Slide to Confirm to complete your transaction.
Why Choose Coins.ph for Payments?
Coins.ph offers a seamless way to pay for government services like NBI clearance. Here’s why users love it:
- Instant processing
- No need for a bank account
- Multiple cash-in options (7-Eleven, Palawan Pawnshop, online banking, and more)
Sign up for Coins.ph today and enjoy hassle-free payments for all your bills!
